GRID EDIT
Step 1: Click on “Student” from main screen.
Step 2: Select any student from the enrolled list.
Step 3: Click “Grid Edit” on the far right of the screen.

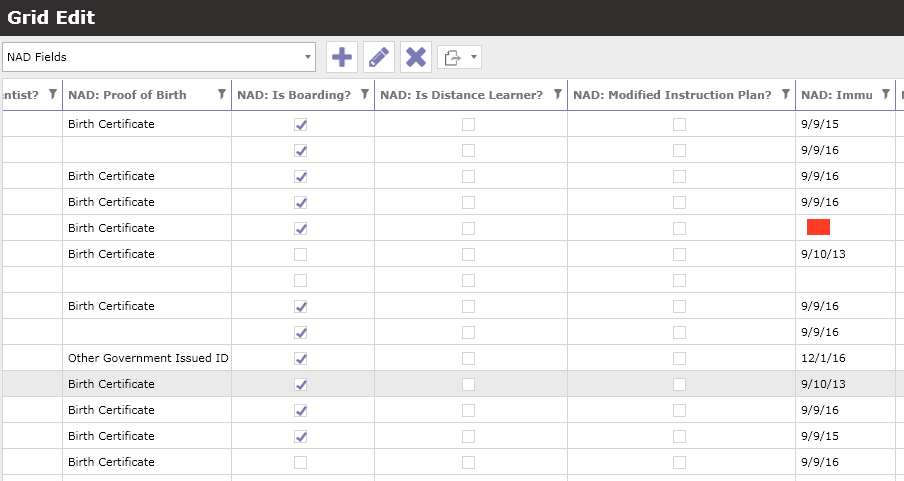
Step 4: Select a list from the drop down menu if there is one (mine is called NAD Fields; you will have to create your own):
Continuing with making your own programmed list for grid edit!!
Step 5: Click “Set Up”.
Step 6: Name the list in the top right corner and click “Save.”

Step 7: Select the new list from the drop down in the same screen (mine is named “NAD”) and then find the NAD fields on the left list (see image below) and click the single right arrow to move those into the “Selected Fields” list on the right. Click “Save” again. Your list should look like the image below.

Step 8: After clicking “Save”, “Exit” from the screen to the main grid edit area.

Step 9: Enter the data.
Step 10: Make new grid edit lists for any other data you’d like to edit all at once!