If the teacher is NOT in the list, scroll down to the bottom of the page (past the organizations) and click on Add New Member button.

- Complete the form beginning with the Full legal name field FIRST. Enter the first, middle, and last name in this field. Press TAB to auto fill the next three fields.
- Enter as much of the member’s name as possible. The more information, the less likely for duplicate ID numbers.
- Enter member’s maiden name or other previous names in the Previous Name field, if applicable. Remember, including a maiden name or previous name may help avoid creating a duplicate ID for a member.
- Birth date and email address are required for creating an account.
- Leave the default setting of “Send email invitation” UNLESS you choose to set the password for the account. If you choose to do that, you must notify the teacher of both the email address entered and the password you set. It is preferred that you have the members set their own password.
- Add the role information.
- If you are adding an educator who has been in the system before, check the OLD Database to see if the educator has a previous ID. This is specifically if they have been out of our system for a few years and is coming back. As certification is tied to ID numbers—this is an important step!
- For the old database file, contact Martha Ban.
- If you find a previous ID for your educator, create a NEW ID for the individual. Email Martha Ban giving the information for the educator and BOTH ID numbers. Martha will merge the two ID numbers leaving the previous ID as the primary ID.
- Also – please delete the educator from the spreadsheet as they will now be in the Dashboard User Manger.
- Be sure to change the setting for Working Hours if the member is part time.
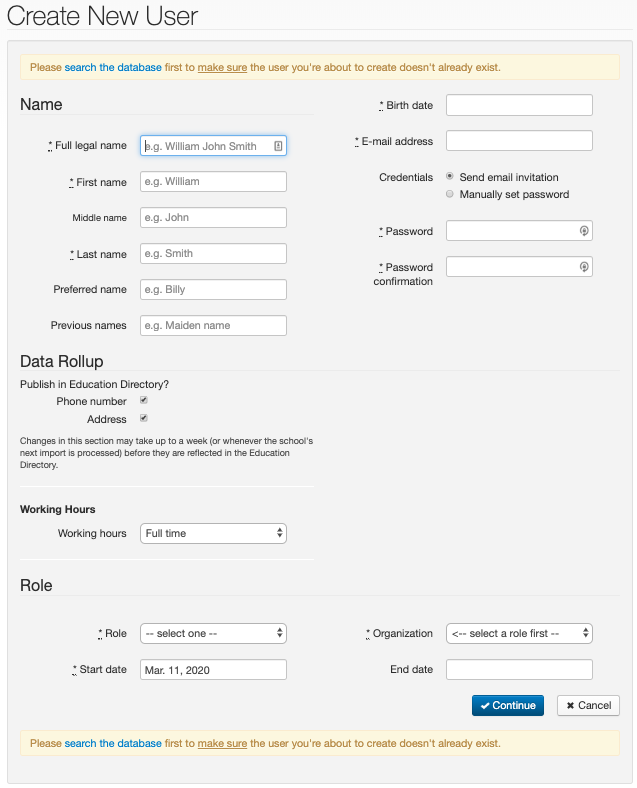
Start and end dates reflect ACCESS to data – NOT actual hiring times. Please do not “back-date” role start dates.